How to create and set an application icon (cocoa): Difference between revisions
Jump to navigation
Jump to search
No edit summary |
No edit summary |
||
| Line 5: | Line 5: | ||
# Drag the Icons-File into your project's Resources:<br>[[Image:IconComposerTutorial06.png]] | # Drag the Icons-File into your project's Resources:<br>[[Image:IconComposerTutorial06.png]] | ||
# If everything worked, it looks now like this:<br>[[Image:IconComposerTutorial07.png]] and<br>[[Image:IconComposerTutorial08.png]] | # If everything worked, it looks now like this:<br>[[Image:IconComposerTutorial07.png]] and<br>[[Image:IconComposerTutorial08.png]] | ||
---- | |||
[[5 Easy Steps To Your First RubyCocoa Application|Back to "5 Easy Steps To Your First RubyCocoa Application"]] | |||
[[Category:Development]] | [[Category:Development]] | ||
Latest revision as of 22:47, 16 June 2010
- Run Icon Composer (part of XCode)
- Drag your image(s) in, until it looks like this
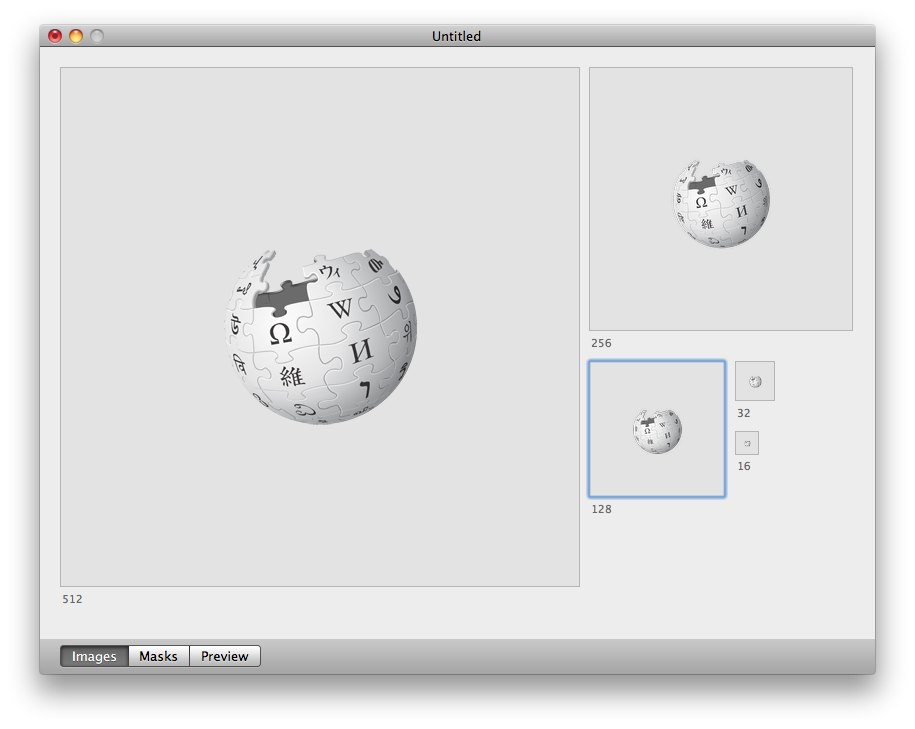 and
and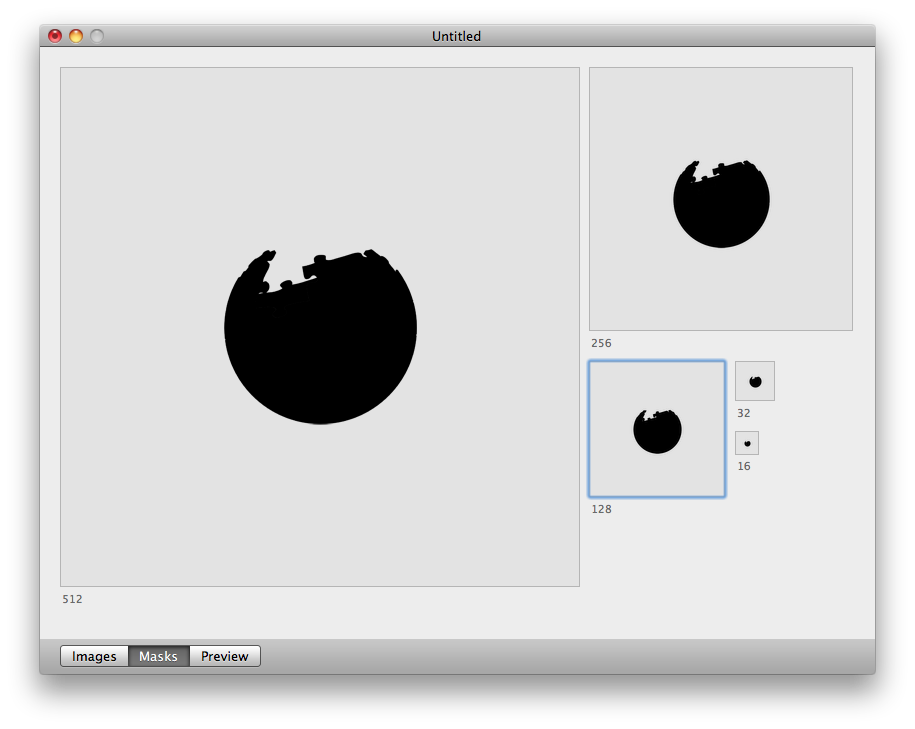 and
and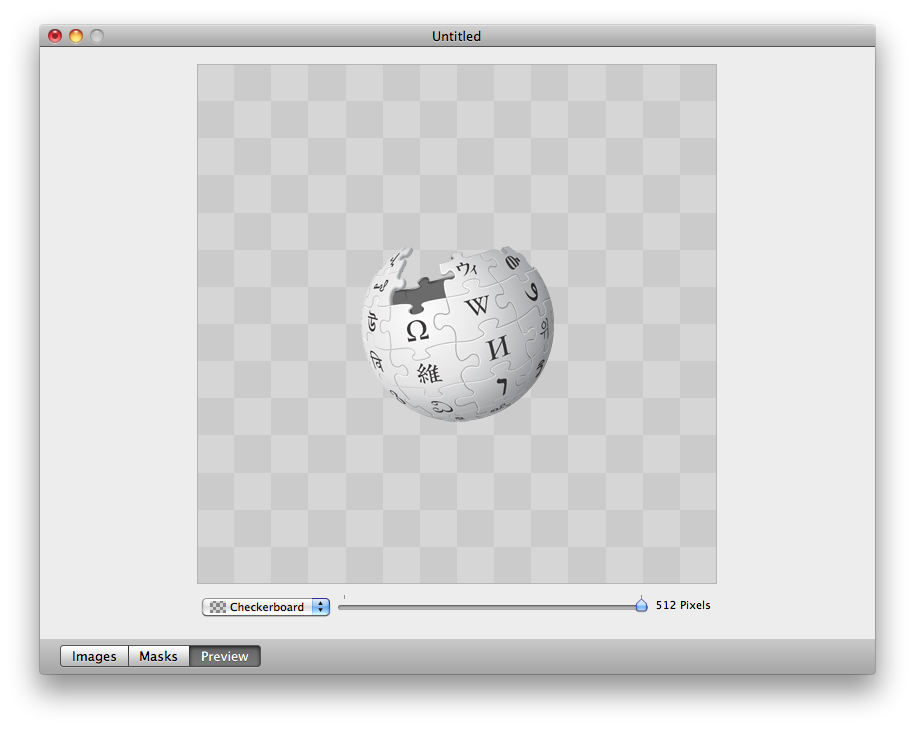
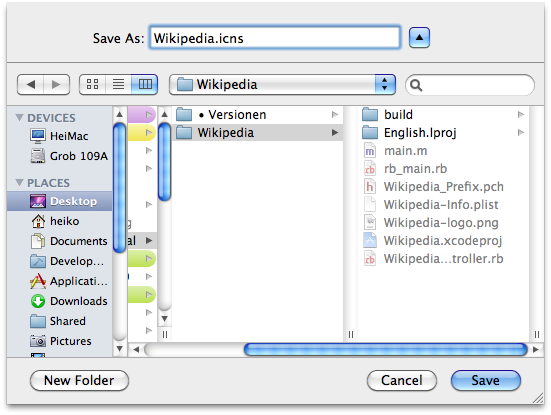
- Now save it into your project folder like this:
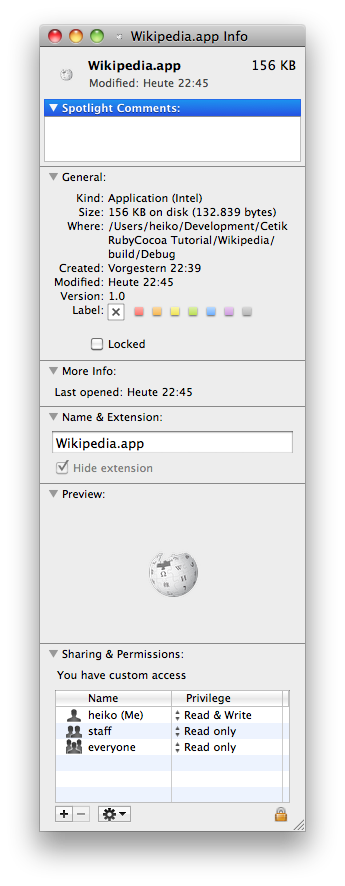
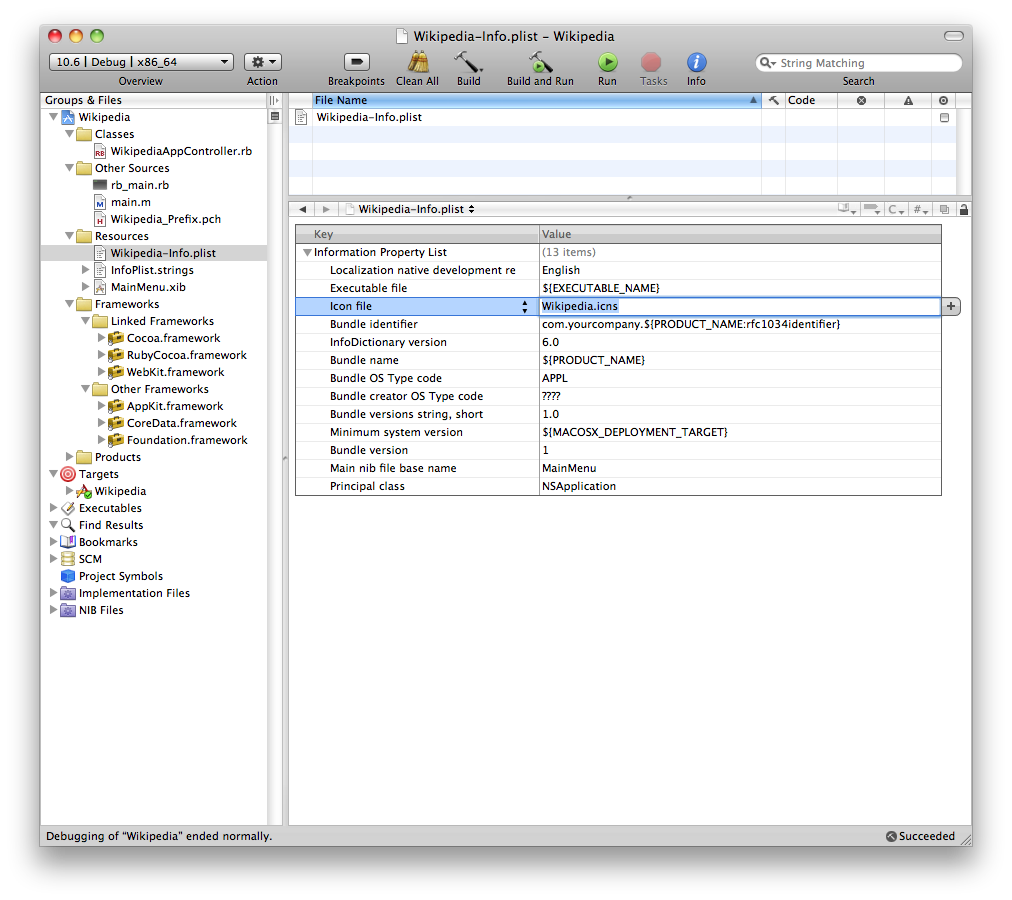
- Set the Icons-File-name in the properties:
- Drag the Icons-File into your project's Resources:
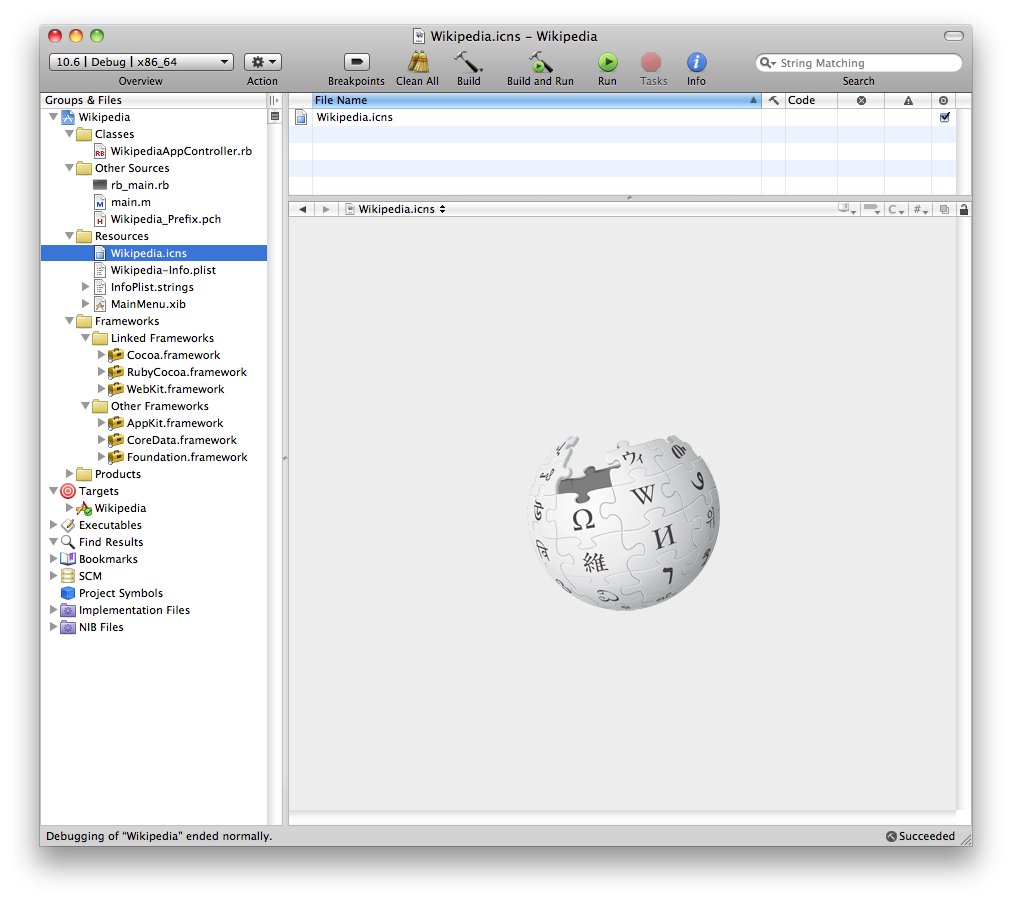
- If everything worked, it looks now like this:
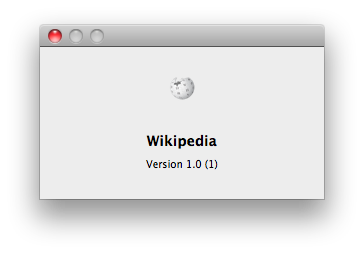 and
and